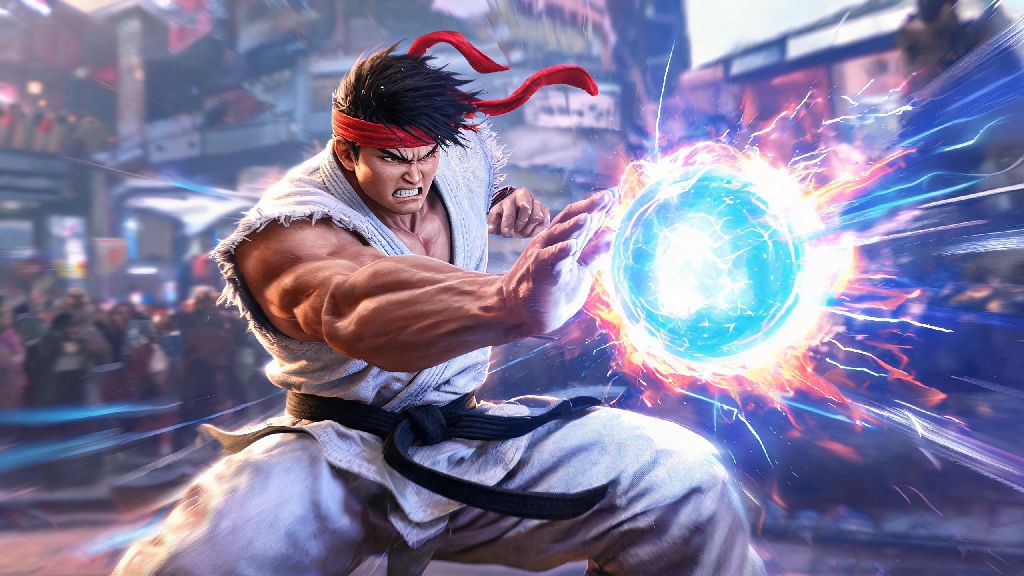
If you’ve ever played Street Fighter 6 and watched an opponent land a huge, flashy combo that chunks half your health bar, chances are they used an OD move. A lot of new players write these attacks off as too hard to pull off, but they’re far more accessible than you think once you break down the basics. I’ve spent hundreds of hours in Street Fighter 6 training mode messing up OD inputs myself, so I know exactly how frustrating it can be when you can’t get them to land when you need them most. If you’re wondering how to do od moves street fighter 6 without fumbling your inputs mid-match, this guide breaks down everything you need to know to start using them consistently.
How to Do OD Moves in Street Fighter 6: Core Input Basics
OD stands for Overdrive, and these moves are the upgraded, higher-damage versions of every character’s standard special moves. If you’ve played older Street Fighter titles, you’ll recognize OD moves as the replacement for EX moves. The core input logic is similar, but OD moves tie into the new Drive system instead of a separate super meter, so you have to balance their use with other Drive-powered mechanics like parries, rushes, and reversals.
The universal input rule for every OD move is simple: perform the regular special move motion, then press two attack buttons of the same type at the same time instead of one. For example, if Ryu’s regular Hadouken uses a down, down-forward, forward motion plus one punch button, his OD Hadouken uses the exact same motion plus two punch buttons at once. This rule applies to every special move for every character on the roster, so you don’t have to learn entirely new inputs for OD variants.
The only other requirement is having at least one full bar of Drive gauge available, which is the colored bar under your health meter. Each OD move costs exactly one Drive bar, so you’ll want to keep an eye on your gauge to avoid wasting inputs. It’s easy to burn through all your Drive gauge quickly if you spam OD moves, so always consider if the damage gain is worth giving up other Drive options like parries or rush attacks.
Common OD Move Execution Mistakes to Avoid
Even if you know the core input, it’s normal to struggle with landing OD moves consistently when you first start practicing. Most issues come down to small, easy-to-fix errors that you can eliminate with a little targeted practice. If you’re struggling to land OD moves consistently, you’re almost certainly making one of these three common errors:
I used to mess up OD inputs all the time because I was pressing the buttons too fast, thinking I needed to get the move out as quickly as possible. Once I slowed down and focused on pressing both buttons at the exact same time, my success rate jumped from 30% to over 90% in just a few days. Don’t be afraid to take your time with inputs when you’re first learning.
When to Use OD Moves During Matches for Maximum Impact
Knowing how to perform OD moves is only half the battle; knowing when to use them is just as important. Spamming OD moves every time you have a Drive bar available will leave you vulnerable to Drive Burnout, which disables your ability to block and leaves you open to massive punishment. You want to save OD moves for high-impact situations where the extra damage or utility is worth the cost.
The most common use case for OD moves is as a combo ender. Most OD moves deal 30-40% more damage than their regular versions, so using one to cap off a long combo will turn a small punish into a huge health lead. If you block an opponent’s heavy attack and land a crumple state, following up with a full combo into OD special will chunk nearly half their health bar in one sequence, often enough to win the round outright.
OD moves are also extremely useful as anti-air attacks. A lot of characters have OD anti-air specials that have far larger hitboxes and less recovery time than regular anti-airs. If your opponent is spamming jump-ins, an OD anti-air will not only knock them out of the air, but it will also give you enough frame advantage to follow up with another attack for extra damage. For example, if you’re playing as Kimberly, her OD Bushin Senpuu Kyaku has full invincibility on start-up, so you can use it to blow through almost any attack if you time it right. But if you miss, you’re left stuck in a long recovery animation that your opponent can easily punish for huge damage. That means you should only use invulnerable OD reversals when you’re 100% sure they’ll land, or if you’re in a do-or-die situation where you have nothing left to lose.
Drills to Practice OD Move Consistency Fast
You don’t need pro-level reflexes to land OD moves consistently. All you need is a little focused practice to build muscle memory, and you’ll be landing them reliably in matches in no time. These are the three drills I recommend to all new players looking to improve their OD move execution:
The first drill is the slow input drill. Head into training mode, set the dummy to do nothing, and drop the game speed to 50% if you’re struggling with inputs. Go through every special move for your main character, alternating between regular and OD versions, until you can land 10 OD inputs in a row without messing up. Slowly bump the game speed back up to 100% as you get more comfortable, and you’ll notice your inputs get far more consistent even under pressure.
The second drill is the combo ender drill. Set the training dummy to block, then practice doing a basic 3-4 hit combo into an OD special 20 times in a row. If you mess up the input once, reset the counter and start over. This drill trains you to add OD moves into your existing combo muscle memory, so you don’t have to think about the input when you land a punish in a real match. I run through this drill with my main character for 5 minutes before every play session to warm up my inputs.
The third drill is the pressure response drill. Set the dummy to perform repeating light attack strings, and practice blocking until you see a gap in their pressure, then punish with an OD move. This drill helps you get used to inputting OD moves when you’re under stress, not just when you’re standing still in neutral. Most players can get consistent with OD moves in 1-2 weeks of 10-minute daily practice, so don’t get discouraged if you mess up a lot at first.
At the end of the day, OD moves are one of the most powerful tools in your Street Fighter 6 toolkit, and they don’t require pro-level execution to use effectively. Once you get the core input down, fix your common execution mistakes, and learn when to deploy them for maximum effect, you’ll see a huge jump in your win rate in both casual and ranked matches. Don’t be afraid to mess up a few times when you first start adding them to your playstyle—every player fumbles inputs now and then. Now that you know how to do od moves street fighter 6, jump into training mode and start practicing with your main character today.